You want your car’s finish to stay flawless without constant worry about chips, scratches, or road debris. Paint protection film (PPF) gives you a nearly invisible barrier that absorbs impacts and resists stains, preserving your paint and resale value while letting you drive without overthinking every pebble.
PPF works by creating a clear, durable polyurethane layer that shields paint from everyday damage while offering self-healing and stain-resistant properties, so your car looks newer longer. You’ll learn how PPF performs, what to consider when choosing a film and installer, and how to care for the film so it keeps protecting your investment for years.
Understanding Paint Protection Film for Cars
Paint protection film for cars shields high-impact zones, resists stains and UV, and can self-heal minor swirl marks. You’ll learn what the film is, the practical benefits for daily driving and resale, and the materials and mechanisms that make it work.
What Is Paint Protection Film?
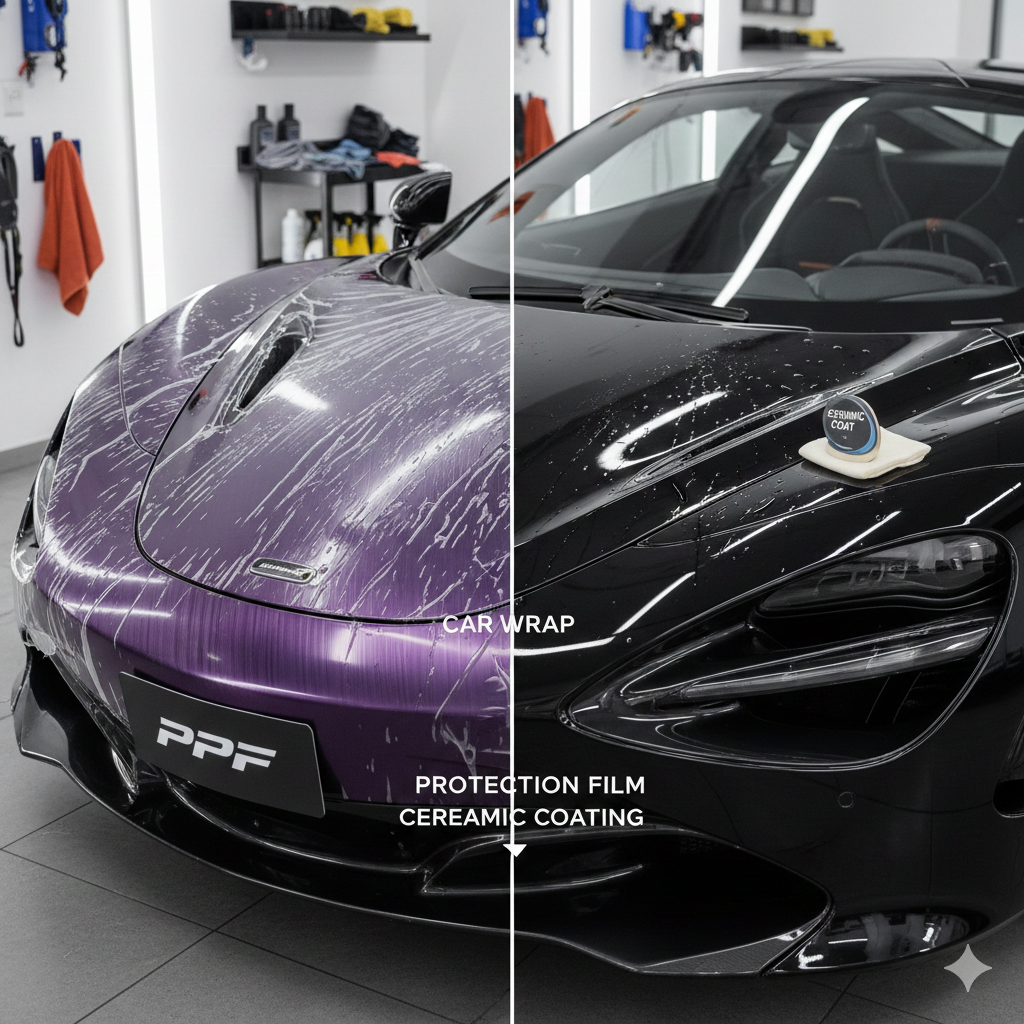
Paint protection film (PPF) is a transparent thermoplastic urethane (TPU) layer you apply to painted surfaces. Installers typically place it on hoods, bumpers, fenders, mirrors, and door edges—areas most exposed to rock chips and road debris.
PPF comes in pre-cut kits for specific models or as bulk film trimmed during installation. Thickness ranges roughly from 6 to 12 mil (0.15–0.30 mm), which affects impact resistance and flexibility. Some films include a glossy or matte topcoat and a self-healing layer that helps remove minor scratches when warmed.
You should expect professional installation for optimal fit and longevity; improper application can trap contaminants or peel at edges. Manufacturers often warranty against yellowing and adhesive failure for several years, depending on product grade.
Key Benefits of Paint Protection Film
PPF protects against stone chips, gravel, and light abrasions that commonly damage high-exposure panels. That protection preserves factory paint, which helps maintain your car’s appearance and resale value.
Many films include UV inhibitors that reduce fading and chemical-resistant topcoats that shed bird droppings, road tar, and bug acids more easily than bare paint. Self-healing properties mean fine swirl marks and light scratches can disappear after exposure to heat from the sun or a warm water rinse.
You also gain peace of mind for everyday driving without altering the car’s look. Compared with repeated touch-ups or repainting, PPF is often more cost-effective over several years for vehicles you plan to keep or sell.
How Paint Protection Film Works
PPF combines mechanical and chemical defenses. The TPU base absorbs and disperses kinetic energy from impacts, preventing chips from reaching the paint layer. The film’s thickness and elasticity determine how well it deflects stones and resists tearing.
The topcoat provides hydrophobic and chemical-resistant properties that prevent staining and make contaminants easier to remove. Self-healing topcoats contain elastic polymers that flow and reform under heat, closing minor surface blemishes without intervention.
Adhesive technology matters: pressure-sensitive adhesives secure the film without harming paint and allow installers to reposition film during fitting. Proper edge sealing and professional squeegeeing remove trapped moisture and reduce lift, maximizing durability and the lifespan of the protective layer.
Selecting and Maintaining Car Paint Protection Film
You’ll pick a film based on durability, finish, and warranty, decide between pro or DIY installation, and perform specific care to keep the film functioning. Know common problems and quick fixes so you can protect painted surfaces and preserve resale value.
Choosing the Right Paint Protection Film
Choose film by material, thickness, and finish to match driving conditions and budget. Polyurethane films in the 6–8 mil range provide strong impact resistance; thicker films resist rock chips better but can be harder to conform to tight curves. Look for UV resistance and self-healing topcoats if you park outdoors often.
Compare finishes: gloss preserves showroom shine, matte requires a matte-specific film, and satin falls between the two. Check manufacturer warranties for edge lifting, yellowing, and duration (usually 5–10 years). Read lab or independent abrasion and UV test results when available.
Confirm compatibility with your paint and clearcoat type. Seek films with pressure-sensitive adhesives and an air-release liner to minimize bubbles during application. Keep receipts and registration information to maintain warranty coverage.
Professional Versus DIY Installation
Professional installers use measured templates, heat guns, and wet-application techniques to achieve invisible seams and consistent edges. You should choose pro installation for full-front, bumper-to-bumper coverage, complex curves, or high-value vehicles to reduce the risk of trapped dirt or improper trimming.
DIY kits save money but require steady hands, a clean workspace, and tools like squeegees, a slip solution, and a heat gun. Expect a learning curve: miscuts, edge lifting, and visible seams are common for first-time installers. If you opt for DIY, practice on smaller panels and follow the film maker’s instructions exactly.
Request before-and-after photos and read local shop reviews when choosing a pro. Ask whether the installer uses factory-cut templates, offers paint correction before installation, and includes warranty transfers if you sell the vehicle.
Proper Maintenance and Care
Wash the film with a pH-neutral car shampoo and use a soft microfiber wash mitt to avoid abrasion. Rinse thoroughly to remove grit before touching the surface; dirt trapped under a mitt causes micro-scratches.
Avoid automatic brush washes and high-pressure nozzles aimed at film edges. Dry with a soft microfiber towel or air dryer. Refrain from waxing with abrasive products; use waxes and sealants approved for PPF, or apply ceramic coatings designed for film if the manufacturer permits.
Address contamination promptly: remove bird droppings and tree sap within 24 hours using a gentle cleaner. For minor swirl marks, use the manufacturer-recommended polish; many films have a self-healing topcoat that recovers with heat from sunlight or a detailer’s heat gun.
Common Issues and Solutions
Edges lifting often results from improper installation or aggressive automatic washes. Solution: trim and reseal edges with a professional-grade adhesive or return to your installer for warranty repair. Monitor edges after winter salt exposure and road grime accumulation.
Yellowing and staining can occur on low-quality films or from prolonged UV exposure. Use UV-resistant films and follow manufacturer cleaning protocols to minimize risk. For light staining, try a PPF-safe stain remover; for severe discoloration, plan a replacement.
Bubbles and trapped debris appear when the surface isn’t perfectly clean or when installers use insufficient squeegee pressure. Small air pockets usually dissipate over days; persistent bubbles require reheating and squeegeeing or removal and reinstallation. Keep documentation of installation and warranty to streamline professional repairs.