Thinking about swapping your tub for a shower can feel like a big decision, but it often delivers faster cleaning, more usable space, and improved accessibility. A Tub to Shower Conversion can typically be completed in a day with a prefabricated system or take longer for custom tile work, and costs usually range from a few thousand dollars up to around $8,000 depending on materials and plumbing needs.
This article walks you through what to expect from the conversion overview and the step-by-step process, so you can decide which approach fits your budget, timeline, and safety needs. You’ll learn practical trade-offs between one-day systems and full tile installations, what affects price, and simple ways to make the space more accessible and stylish.
Tub To Shower Conversion Overview
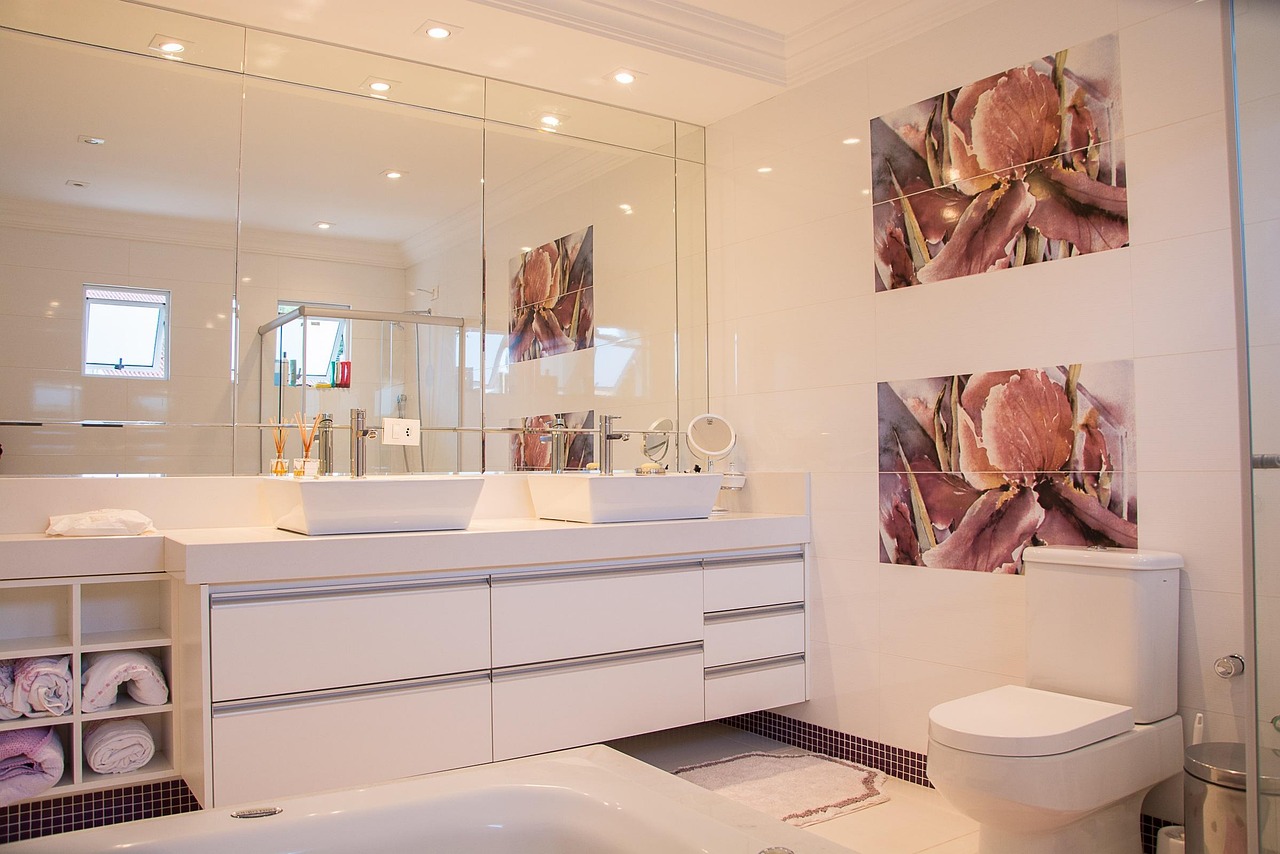
A tub-to-shower conversion replaces a bathtub with a walk-in shower to improve accessibility, reduce maintenance, and update bathroom style. You’ll decide on materials, drain and faucet placement, and whether to use a prefabricated unit or a custom build.
Benefits of Tub To Shower Conversion
You gain easier access for daily use and reduced fall risk by eliminating the tub lip. A curbless or low-threshold shower makes entry simpler for children, older adults, and people with limited mobility.
Cleaning becomes faster because shower walls and bases have fewer grout lines and simpler surfaces than old tubs and tiled surrounds. That lowers soap-scum and mold buildup and cuts recurring maintenance time.
You also increase usable space and modernize the room. A vertical glass enclosure or open walk-in shower can make a small bathroom feel larger and lets you choose contemporary fixtures that raise resale appeal.
Types of Tub To Shower Conversion
Prefabricated shower kits: molded acrylic or fiberglass units that fit the existing tub footprint. They install quickly, cost less, and include integrated walls and bases. Choose these if you want lower upfront cost and fast completion.
Acrylic or solid-surface surrounds: semi-custom panels that bond to walls and look like tile without grout. They offer a middle ground between kits and full tile, with easier cleaning and reasonable durability.
Custom-tiled showers: you build a new waterproof pan, slope, and tile walls. This option gives full design control—bench seats, niches, linear drains—but costs more and takes longer. Expect additional plumbing work if you change drain location.
Barrier-free or curbless conversions: require floor rework to ensure proper slope and waterproofing. These improve accessibility but often increase labor and may need structural or subfloor changes.
Cost Factors and Budgeting
Materials drive cost: acrylic kits can run low, while tile, stone, or solid-surface materials raise prices substantially. Fixtures—shower valve, trim, glass door—add several hundred to several thousand dollars depending on brand and finish.
Labor and scope matter more than you expect. If you keep the existing drain location and use a prefabricated surround, labor falls dramatically. Moving the drain, repairing damaged subflooring, or adding waterproofing and curb adjustments increases labor hours and total cost.
Permit and accessibility upgrades add expense. Local permit fees, tile labor, glass installation, and ADA-compliant features (grab bars, curbless threshold) all affect budgets. Prepare a line-item estimate: materials, demo, plumbing, waterproofing, finishes, and contingency (10–20%).
Tub To Shower Conversion Process
You will assess space, plumbing, and finish choices, then remove the tub, adjust the subfloor and plumbing, install a shower base or pan, waterproof walls, and fit fixtures and doors. Expect decisions about layout, shower curb or curbless entry, and materials that affect cost and accessibility.
Preparation and Planning
Measure the tub footprint and ceiling height, and photograph existing plumbing locations before ordering parts.
Check floor framing where the tub sits. If the subfloor softens or the drain location shifts, plan for reinforcement or rerouting. Obtain local permits when structural or plumbing changes exceed code thresholds.
Decide on a shower system: preformed acrylic base, tile pan with waterproof membrane, or a custom curbless shower. Choose wall material — tile, solid-surface panels, or prefab surround — based on budget, maintenance, and waterproofing needs.
Select fixtures and drainage: replace the tub spout/valve with a shower valve compatible with your cartridge type, and pick a drain assembly sized for your new pan. Confirm shower door swing clears cabinetry and toilet.
Installation Steps
Shut off water and disconnect the tub supply lines. Remove tub trim, fixtures, and the tub itself; have a second person assist with heavy cast-iron units.
Inspect and repair subfloor as needed; install a mortar bed or pre-sloped pan if building a tile base. Relocate or adapt the drain to align with the new pan; use a plumber when the drain must move more than a few inches.
Install a water-resistant backer board or bonded waterproof membrane on walls, then fasten wall panels or set tile with an appropriate thinset. Seal seams with waterproof tape and use marine-grade caulk at transitions.
Fit the valve and showerhead, test for leaks, and adjust water pressure/temperature. Finish with a door or curtain rod; for glass doors, ensure silicone seals and correct threshold alignment.
Common Challenges and Solutions
Problem: Drain location prevents using a prefab pan. Solution: Use a custom tile pan with a relocated drain or a slim-profile prefab pan that accommodates offset drains.
Problem: Subfloor rot or uneven framing. Solution: Replace damaged joists or sister new lumber, then install a plywood substrate and mortar bed. Prioritize a proper slope to avoid standing water.
Problem: Waterproofing failures behind tile. Solution: Use a waterproof membrane system (sheet or liquid-applied) over backer board and seal all transitions. Test with a flood test before finishing.
Problem: Accessibility needs. Solution: Choose a curbless or low-threshold pan, slip-resistant flooring, and a thermostatic valve. Install grab bars anchored to blocking placed during pre-wall work.